
by millers1
The window ‘weather-strip’, on the outside of the doors of my 2001 Miata SE were showing the affects of age and weather. I found them for the reasonable price of $36.95 each, from www.finishlineperformance.com
· Mazda part number:
Driver side - NA01-59-810F
Passenger side - NA01-58-810F
Fits: 1990-2005
Open door. Roll down the window. Locate the push-pin that secures the flap that overhangs the rear of the door. Get under it with needle-nose pliers and pull out.

There’s a flap and push-pin on the front of the door as well that needs to come out.

Here’s a shot of the plastic clips that secure the molding to the door. There are 4 white and one yellow clip on each molding. The yellow clip goes in the slot closest to the rear of the door. The clips are attached to the molding and fit into slots in the door.

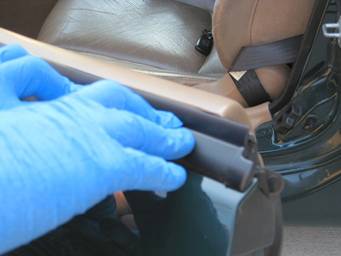
Carefully pull up the outer rubber lip of the molding and locate the rear-most clip. Push in the center ‘tang’ of the clip and it will release from the slot in the door.

Work your way down to the door, releasing the remaining 4 clips. Remember to push in the tang on the center with suitable tool, to release the clip, or it will break.

Remove the molding and clean the top of the door.

I removed a few of the clips from the old moldings that were still good, to keep as spares.
Now’s a good opportunity to spray a little White Lithium Grease in the window mechanism channels, and a little silicon lube in the weather strip slot at the front of the window.


Grab your new belt line molding and make sure there’s no debris on the felt, which could scratch your window.

Hold the molding up to the door and make sure all 5 clips line up with the slots in the door. Start at the front and work towards the rear, inserting the clips into the slots. Note that on my ’01, there are 7 slots in the door, but only 5 are used.


The front of the outer rubber strip should mate up against the “vent” window frame.

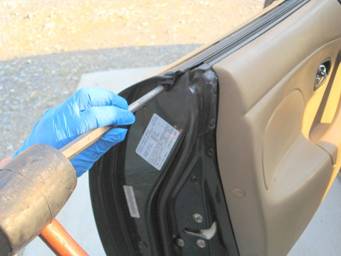
Firmly push down as you work your way down the molding and you should feel each clip snap into the slots.


Seat the front and rear push-pins with a suitable tool.

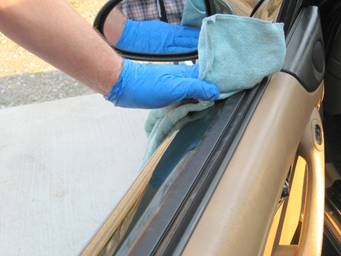
Clean all the fingerprints off the door and new moldings.

| Back to Garage |
4 January, 2009 |
| [Home] - [FAQ] - [Search] - [Sponsors] - [Forums] |
| [Garage] - [Clubs] - [Contact Us] - [Disclosures] - [More...] |
Copyright
©1994-2022, Eunos Communications LLC
|