Installing
a new 160-degree Thermostat
(1990 Miata in pictures shown - by Geoff Kim)
(Click on the thumbnails on the left to get the full size pictures.) |
|
Things you'll need:
- Thermostat (I used a 160 degree unit from NAPA -- NAPA #42, 52mm
thermostat).
- Thermostat Gasket (NAPA#C20115)
- Blue RTV Silicon Gasket Sealer
- 12mm Box/Socket Wrench
|
|
Follow the upper radiator hose and locate the
thermostat housing. |
|
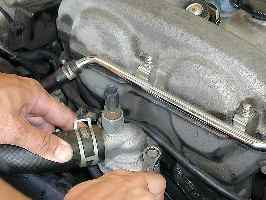
Disconnect the temperature sensor lead from the top of
the housing and remove the two 12mm bolts holding the housing in place. |
|
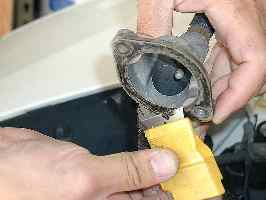
Gently lift off the thermostat housing, you may need to
tap it from the bottom to loosen. |
|
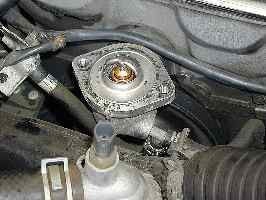
Here's the view of the old thermostat and the old black
gasket holding it in place. |
|
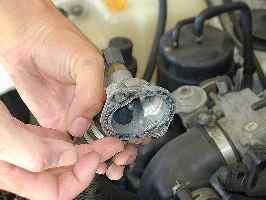
Using a dull razor blade, carefully scrape off the old
gasket. You do not want to score the aluminum or you will have leak! |
|
Here's the old thermostat removed from the housing... |
|
Here's the new thermostat in place. It still
needs to have the new gasket put in place. |
|
You will also need to scrape off any remnants of the
old gasket from the upper half of the housing as well. |
|
Apply a very thin layer of the blue RTV silicon to
either the base of the top housing or to the top of the new gasket. |
|
Fasten the top of the housing back on and tighten
snugly. Make sure to alternately tighten each of the bolts to ensure you are
applying an even amount of pressure on the housing (ie. do not crank down on one side and
then do the other.) Recommended torque is 14-19 ft/lbs. But I just hand
tightened them in place. If you notice any leakage, you can always tighten them more
later. |
That's pretty much all there is to it. Start your car and wait for it to warm
up. Rev the engine a few times while it is warm and check for any signs of
leakage. Refill your coolant as necessary. |