

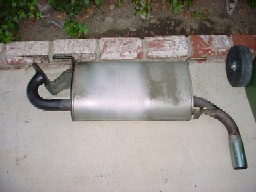





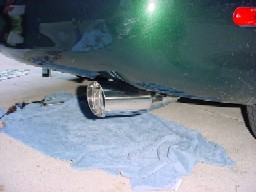
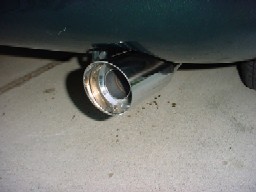
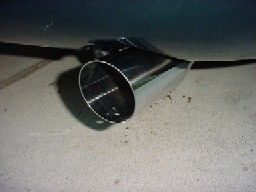
I don't see why installing any other aftermarket exhaust should be any different, so the steps should apply for most anyone with a bolt-on exhaust. The GoodWin Racing Roadster Sport exhaust weighs about 8 pounds less than the stock exhaust. It's totally polished and comes with a 3" tip and insertable baffle, if you find the exhaust too loud.
One consideration I wished I had taken into account was sway bar installation. If you might get some upgraded bars, you might purchase these as well and install them at the same time. When I was installing the exhaust, I kept thinking about how much easier it would have been if I was installing sway bars at the same time. After installing the exhaust, disconnecting some of the exhaust points woudn't be too hard, but still, sway bars installation would probably be much easier at the same time. The instructions said to lift the rear of the car by ramps, or jack stands, but I was thin enough to do the swap with the car on the ground.
Hard to give a firm estimate of how long it took me. It certainly took more than one hour, because of scratching my head, rusted bolts, finding the best way to remove the exhaust, and taking pictures. Doing it again, I'd say it'd take an hour, at best. The worst part was removing the two rusted bolts, which burned most of the hour - if you're lucky enough to get them off quickly, the rest is no problem.
| Image |
|

|
Step 1: Spray the bolts liberally with Liquid Wrench, WD40, or some other bolt loosener/rust cleaner. I sprayed the bolts liberally throughout the day, let the car sit overnight, and sprayed again the next day. Even so, it still took a bit of time and lots of effort to get mine off. |

|
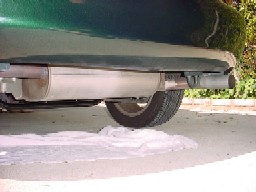
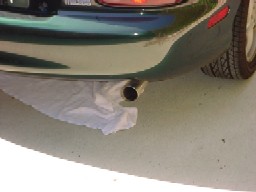
Step 2: Next day, took more WD40, and sprayed throughout the day. Stupid bolts still wouldn't come off! After about an hour of spraying, knocking at the nuts, and elbow grease, the bolts were finally loosened. Here are a few shots of the car with the previous exhaust, it has a 2.5" tip. |

|
Step 3: Another shot of the original exhaust. |

|
Step 4: One more shot of the exhaust. |

|
Step 5: Diconnect the battery. At this time, please double check and if your car is on jacks or ramps, make sure it's stable, and the emergency brake is engaged. |

|
Step 6: Remove the nuts from the bolts. I sprayed more WD40 to clean the area, wiped them off, and applied a little anti-seize lubricant so that if I needed to remove the nuts, they wouldn't be as difficult next time. |

|
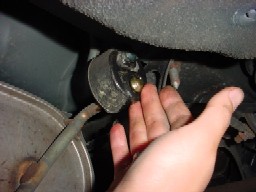
Step 7: Jumping ahead here, this is the stock exhaust. You can see there are three places where rubber grommets are attached - the top left, top right, and lower right. |

|
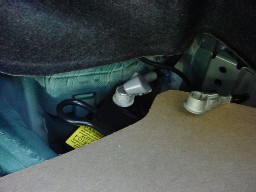
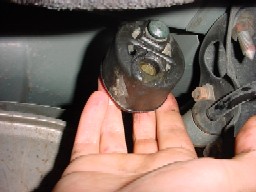
Step 8: A closer shot of one of the grommet attachment areas. Here you can see the difference in the "snap-in" head size compared to the actual bar, about 1.5-2mm larger. With this, you can tell just how much you need to stretch the grommet to allow the head to slide back out of the grommet. |

|
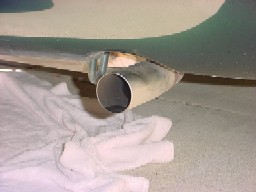
Step 9: Wrapped a soft towel around the tip so that removal of the exhaust did not scratch the car. |

|
Step 10: Per instructions, pure dishwashing soap is best to remove the exhaust from the grommets. This should allow the attachments to slip right through. |

|
Step 11: Applying the detergent to the grommet only covered the head of the attachment. So the following step was done. |

|
Step 12: Took a screwdriver, and covered it with as much soap possible. (Note: Visitors to my home, this is a bottle of soap I use for jobs other than washing dishes! ;-D) |

|
Step 13: Attempted to jam the soap-covered screw driver between the grommet and exhaust flange. Allowed soap to lubricate the inside of the grommet. |

|
Step 14: Even with soap, the removal of the flange from the grommet seemed difficult. With some effort, you can simply force the head of the flange out through the grommet. I found the best help was lay on my back, grab the exhaust and pull down towards myself. This stretches the grommet hole into an oval shape, which will allow to top part of the head to simply slip into the grommet hole, without having to force it in. Once it's stretched vertically, push back so the head begins sliding into the grommet. The rest is simply pulling - I took one hand to the back of the grommet and pulled toward myself, while the other hand pushed the flange back away from me. |

|
Step 15: I did the third one, that was behind the bolts last. This one was more difficult keeping movement to a minimum, since the piping kept bumping into the midpipe. The "pulling down" method worked well here. |

|
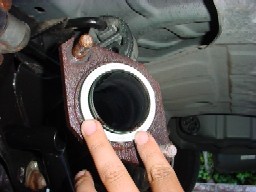
Step 16: Removed the old gasket, tried to clean off as much rust as possible, and replaced the new one. Wrapped the new exhaust totally in old bubble-wrap and towels to prevent scraping the car, or scratching the exhaust. The next step is best done with a buddy as you install the passenger side to avoid scratching or denting the driver's side on the ground. |

|
Step 17: The new Roadster Sport exhaust has no snap-in head on the three flanges, so they should just slide right in with no need for soap (especially since there should already be some pre-existing soap). I did the passenger side flanges first, which should be done at the same time. The last few images don't really have install pics, because it was so easy, but I'll give the steps with pics of the new exhaust for comparison. |

|
Step 18: On the driver's side, place the flange in the last grommet, and bolt up the piping! |

|
Step 19: Here's the final pic without the optional baffle. The 3" tip looks a little larger than I thought it would, but the look is growing on me. :-) |
| Back to the Garage |
24 December, 2005 |
| [Home] - [FAQ] - [Search] - [Sponsors] - [Forums] |
| [Garage] - [Clubs] - [Contact Us] - [Disclosures] - [More...] |
Copyright
©1994-2022, Eunos Communications LLC
|